Battery switch on travel trailer function is crucial for managing your RV’s power. Understanding how these switches work, where they’re located, and how to use them safely is key to enjoying worry-free adventures. This guide breaks down the different types of switches, their operation, troubleshooting tips, and integration with other RV systems. We’ll cover everything from basic operation to advanced troubleshooting, ensuring you’re comfortable and confident handling your travel trailer’s power.
Whether you’re a seasoned RVer or a newbie, mastering your battery switch is essential for safe and efficient power management. We’ll explore the different switch types, their pros and cons, and best practices for operation and maintenance. We’ll also delve into common problems and how to solve them, keeping your RV running smoothly on the road.
Battery Switch Types in Travel Trailers
Choosing the right battery switch for your travel trailer is crucial for managing power and ensuring safe operation. Different switches offer varying levels of control and protection, impacting both convenience and the lifespan of your batteries. Understanding these differences will help you make an informed decision.
Single-Pole Battery Switches
Single-pole switches are the simplest type, offering a single on/off function for a single battery bank. Internally, a single-pole switch uses a simple mechanism to connect or disconnect the power flow from the battery to the trailer’s electrical system. When the switch is in the “on” position, the circuit is closed, allowing current to flow. When “off,” the circuit is broken, preventing current flow.
This is suitable for trailers with a single 12V battery and simple power needs. Advantages include low cost and simplicity; however, the disadvantage is a lack of flexibility in managing multiple batteries or isolating sections of the electrical system.
Double-Pole Battery Switches
Double-pole switches control two circuits simultaneously, often used to manage both positive and negative leads of a single battery. This improves safety by ensuring both terminals are disconnected at once, preventing accidental shorts. Internally, this switch uses two independent switching mechanisms, one for each pole (positive and negative). This provides better safety compared to a single-pole switch, which only isolates one side.
The advantage is enhanced safety; however, it still only manages one battery bank.
Double-Pole Double-Throw (DPDT) Battery Switches
DPDT switches offer the most control. They allow you to select between two different battery banks (e.g., house battery and starting battery) or connect both to the trailer’s electrical system. Internally, a DPDT switch uses a more complex mechanism to switch between different power sources. It can direct power from either battery bank to the load or even combine both (though combining is less common and requires careful consideration of amperage).
So, you’re planning a trip? Awesome! First things first: get travel insurance. Check out Aon travel insurance for options; they often have good coverage. Then, if you’re taking a travel trailer, knowing the battery switch on travel trailer function is crucial for keeping your lights and appliances running smoothly. Understanding your trailer’s electrical system will save you headaches down the road, trust me!
The advantages are superior flexibility and the ability to manage multiple batteries efficiently. The disadvantages include higher cost and slightly increased complexity in operation.
Comparison of Battery Switch Types
| Feature | Single-Pole | Double-Pole | Double-Pole Double-Throw (DPDT) |
|---|---|---|---|
| Number of Circuits Controlled | One | Two (positive and negative of one battery) | Two or more battery banks, selectable |
| Internal Mechanism | Simple on/off switch | Two independent on/off switches | Complex switching mechanism for multiple sources |
| Safety | Lower | Higher than single-pole | Highest |
| Flexibility | Low | Medium | High |
| Cost | Low | Medium | High |
| Typical Applications | Simple trailers with one battery | Trailers needing improved safety | Trailers with multiple battery banks (house and starting) |
Battery Switch Location and Accessibility
Finding your travel trailer’s battery switch quickly can be a lifesaver, whether you’re dealing with a dead battery or need to disconnect power for maintenance. Easy access is crucial for both routine checks and emergency situations. This section will guide you through typical locations and highlight the importance of safe placement.The location of your battery switch varies considerably depending on the manufacturer and model of your travel trailer.
So, you’re planning a trip? Awesome! First things first: get travel insurance. Check out Aon travel insurance for some solid options; they often have good coverage. Then, if you’re taking your travel trailer, knowing how the battery switch on travel trailer function works is crucial for avoiding dead batteries and a frustrating trip.
Make sure you understand it before you hit the road!
Common spots include the exterior of the trailer, often near the tongue or in a compartment close to the batteries themselves. Interior locations are less common due to safety concerns, but some models might have the switch inside a dedicated electrical panel. However, regardless of location, ease of access is paramount.
Typical Battery Switch Locations
The most frequent locations for battery switches are outside, near the batteries. This is largely due to safety; keeping the switch away from potential ignition sources inside the trailer is a key safety precaution. You might find the switch mounted on the tongue, in a dedicated compartment near the battery, or sometimes even on the exterior wall of the trailer near a storage compartment.
Less common, but possible, are locations within an interior electrical panel, often hidden behind a cover. Always consult your owner’s manual to pinpoint the exact location in your specific travel trailer.
Importance of Accessible Battery Switch Placement
Easy access to the battery switch is not just a convenience; it’s a critical safety feature. In an emergency, such as a fire or a short circuit, you need to be able to quickly disconnect the power to prevent further damage or injury. Regular maintenance, like checking battery voltage and connections, is also significantly easier with an easily accessible switch.
A poorly placed switch can lead to unnecessary delays in critical situations and make routine maintenance a frustrating task.
Safety Considerations for Battery Switch Location
Placing the battery switch near flammable materials is extremely dangerous. Batteries can generate sparks or even catch fire under certain circumstances. Therefore, it’s crucial to ensure the switch is positioned well away from propane tanks, fuel lines, or any other combustible items. Adequate ventilation around the switch is also important to prevent the build-up of potentially explosive gases.
The switch itself should be securely mounted to prevent accidental disconnection or damage.
Optimal and Suboptimal Battery Switch Placement, Battery switch on travel trailer function
Optimal Placement: Imagine a diagram showing a travel trailer. The battery is housed in a dedicated, well-ventilated compartment near the tongue. The battery switch is clearly marked and easily accessible on the exterior of the compartment, away from any flammable materials. The area around the switch is free of obstructions, and the switch is firmly secured to a sturdy surface.
The entire setup is easily visible and readily accessible.
Suboptimal Placement: Now, imagine a different diagram. The batteries are in a cramped compartment under the trailer, near the propane tank. The switch is tucked away inside a small, hard-to-reach compartment under the sink inside the trailer. It is poorly labeled, difficult to access, and close to potential ignition sources. The access is obstructed by various items.
This placement increases the risk of damage, delays in emergency response, and poses a fire hazard.
Battery Switch Operation and Procedures
Operating your travel trailer’s battery switch safely and correctly is crucial for preventing electrical issues and ensuring the longevity of your batteries. Understanding the process and following established procedures will help you avoid common mistakes and maintain a reliable power supply for your adventures.Proper battery switch operation involves a series of steps designed to protect both you and your equipment.
Neglecting these procedures can lead to short circuits, battery damage, or even personal injury. Always prioritize safety when working with electrical systems.
Safe Battery Switch Operation
Before you even touch the switch, it’s vital to perform a few checks. First, visually inspect the switch and its connections for any signs of damage, loose wires, or corrosion. Look for any obvious signs of overheating or melting. If anything looks amiss, don’t proceed; consult a qualified RV technician. Next, ensure that no one is working on any other electrical components in the trailer, particularly those connected to the batteries.
Clear communication is key in this step. Finally, make sure you understand the position of the switch and what each position does (e.g., “off,” “battery 1,” “battery 2,” “both”). A clearly labeled switch is essential for safe operation. If your switch isn’t clearly labeled, consult your RV’s manual or a qualified technician for assistance.
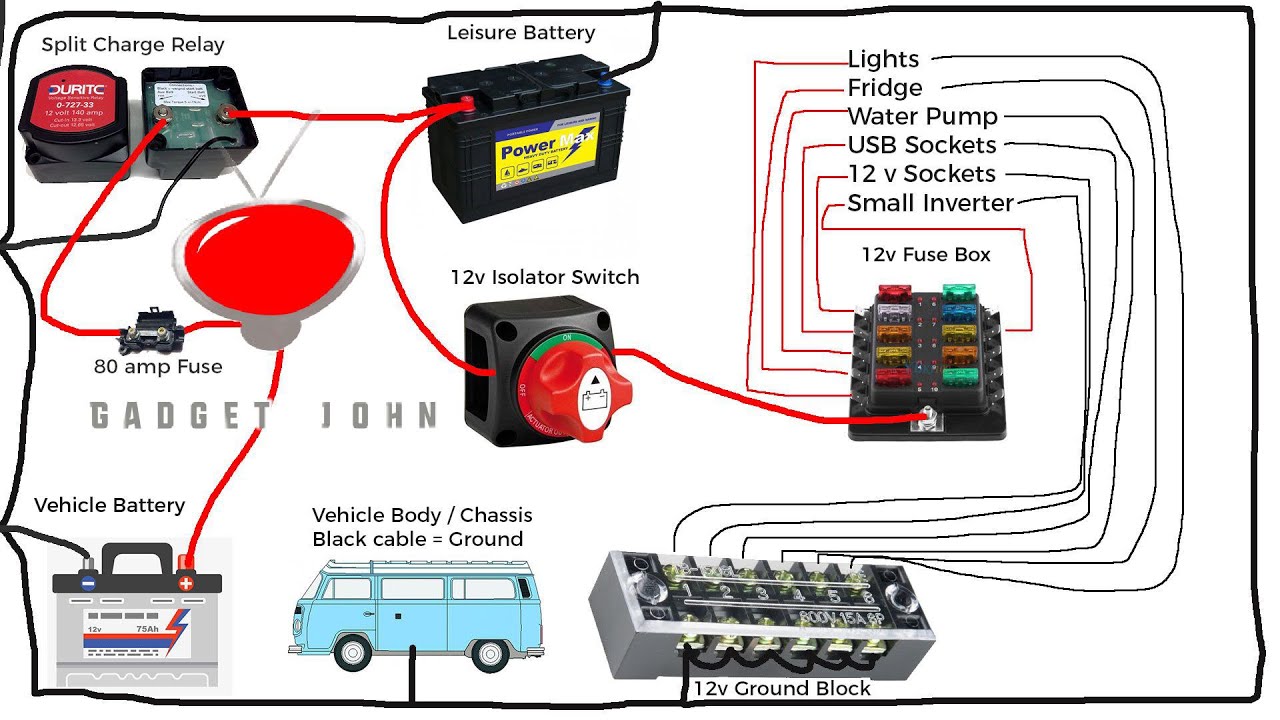
Switching Between Battery Banks
Many travel trailers have two battery banks: one for house functions (lights, appliances) and another for starting the tow vehicle. Switching between these banks is straightforward once you’ve completed the pre-operation checks. To switch to the house bank, for example, simply turn the switch to the appropriate position. Observe the effect on the relevant circuits; lights and appliances should power up if the switch is correctly positioned.
Similarly, to switch to the starting battery, rotate the switch to the corresponding position. Always double-check the position of the switch after making a change. Remember that switching between banks while appliances are running could cause a voltage drop, potentially leading to malfunctions. It’s best practice to turn off any non-essential appliances before switching banks.
Completely Disconnecting the Battery System
To completely disconnect the battery system, turn the switch to the “off” position. This will isolate both battery banks from the trailer’s electrical system. This is essential for extended periods of storage or when performing maintenance on electrical components. It’s a vital safety precaution to prevent accidental short circuits or battery drain. After turning the switch off, you might want to verify that power is indeed cut off by checking a test light on various circuits.
Remember, even with the switch off, there might still be residual power in some components, so treat the system as if it’s still live until you’re absolutely certain.
Safety Precautions Checklist
- Visually inspect the battery switch and connections for damage before each use.
- Ensure no one is working on other electrical components while operating the switch.
- Understand the function of each switch position.
- Turn off non-essential appliances before switching battery banks.
- Verify the switch position after making a change.
- Use a test light to confirm power is off when disconnecting the system completely.
- Consult a qualified RV technician if you encounter any problems or are unsure about any procedure.
- Always treat the battery system as potentially live until verified otherwise.
Mastering your travel trailer’s battery switch is a simple yet powerful step towards confident RVing. By understanding the different types of switches, their proper operation, and common troubleshooting techniques, you can ensure reliable power and a safer, more enjoyable camping experience. Remember to always prioritize safety and consult a professional if you encounter any issues you can’t resolve yourself.
Happy travels!
Answers to Common Questions: Battery Switch On Travel Trailer Function
What happens if I leave my battery switch on all the time?
Leaving your battery switch on constantly can drain your batteries, especially if you have parasitic draws (small electrical loads even when nothing is turned on). It’s best practice to turn it off when not using the trailer for extended periods.
How do I know which battery bank is supplying power?
This depends on your switch type. Some switches have indicators, while others require checking the voltage at different points in your system. Consult your RV’s wiring diagram or owner’s manual for specifics.
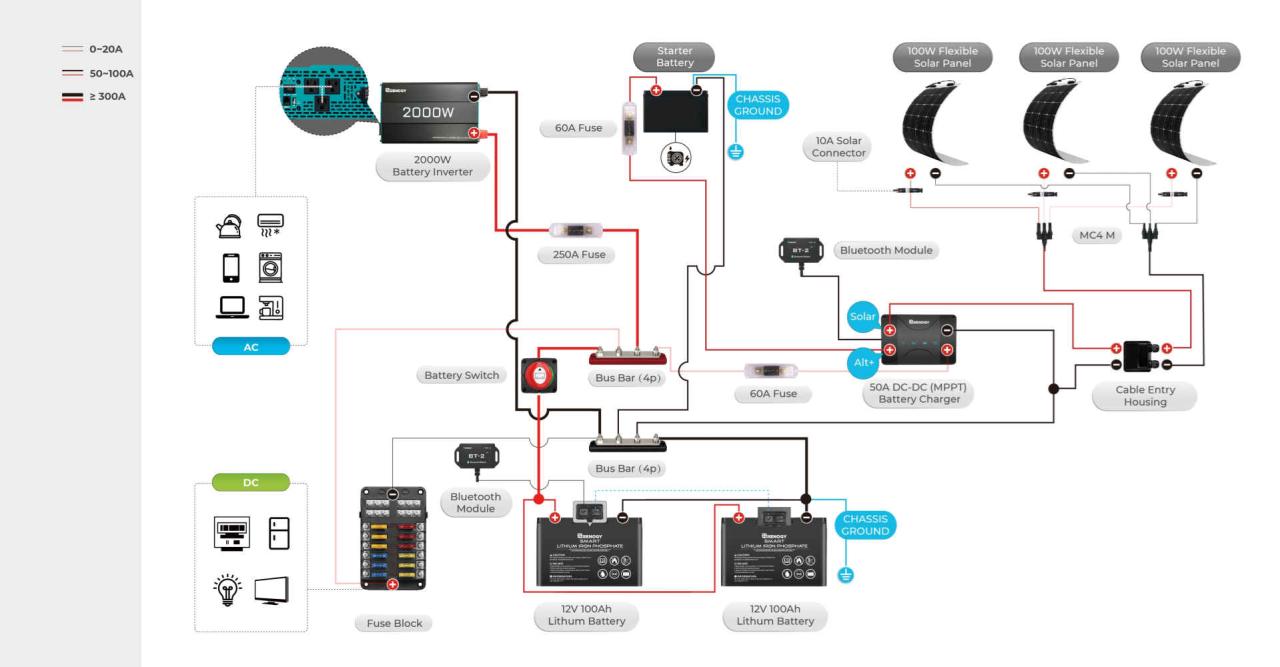
Can I use a battery switch in a solar panel setup?
Yes, a battery switch can be incorporated into a solar panel system to isolate the batteries from the solar panels when needed. However, proper wiring and consideration of charge controllers are crucial.
My battery switch is hot to the touch. Is this normal?
No, a hot battery switch indicates excessive current flow, possibly due to a short circuit or faulty switch. Turn off the switch immediately and have it inspected by a qualified technician.
